Setup the Abbyy project
Overview
To use the Abbyy connector you need to setup all the Abbyy infrastructure and project. This section describes the steps needed to configure your Abbyy project.
Before you Start
-
You need to have an Abbyy licensed server. Additionally, to start, you need to have access to the following Abbyy applications:
- Project setup station
- Processing server monitor
- Web station monitor
-
Make sure that you have created a document layout.
Setup Steps
To configure your Abbyy project follow these steps:
- Create an Abbyy project
- Create a document definition using the layout
- Create a Batch Type
- Upload your project to server
- Activate server
- Obtain a response sample
1. Create an Abbyy Project
Open the Abbyy Project Setup Station and create a new project:
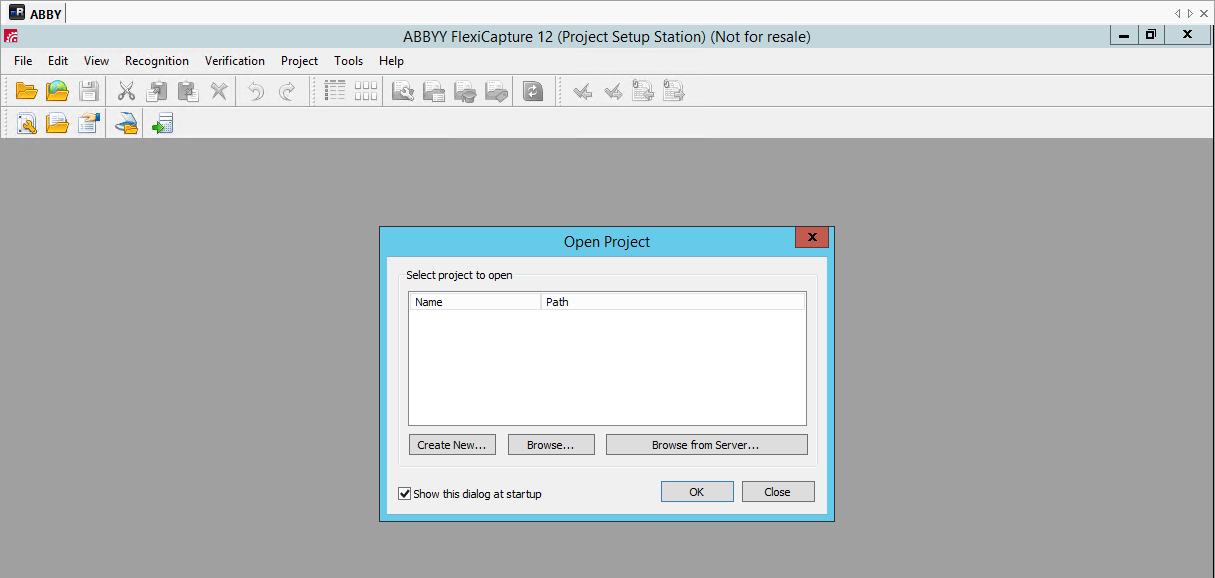
If you already have a project, you can open it from your local computer or your server.
2. Create a document definition
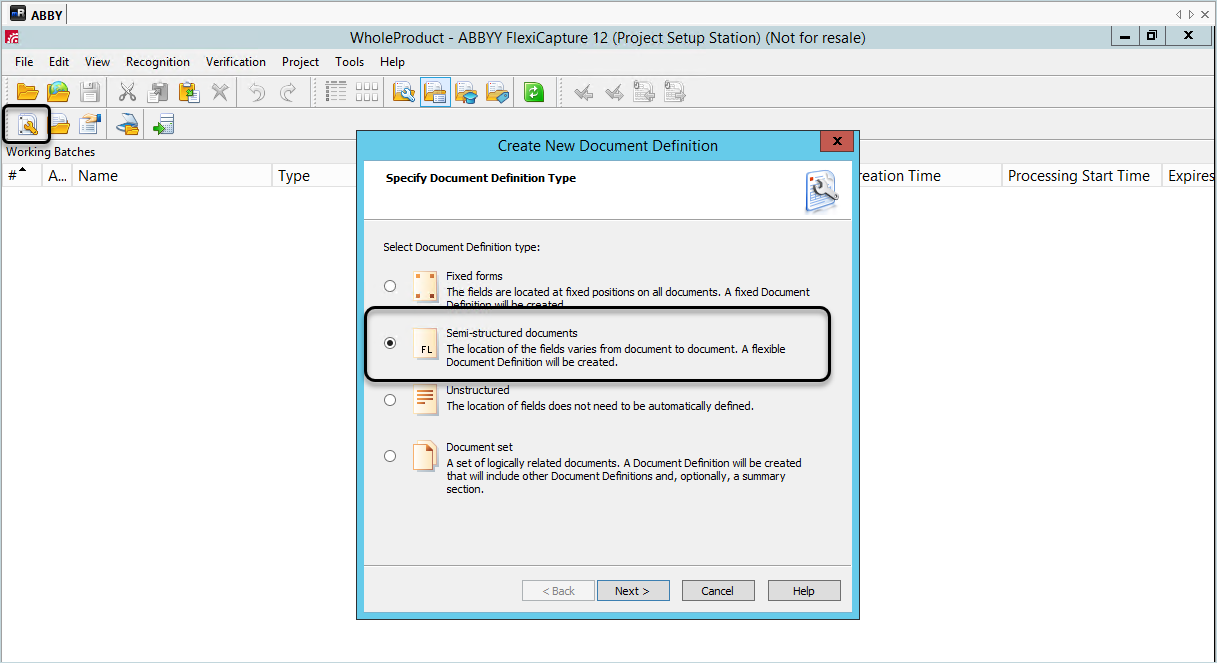
Click the Document Definition icon, and select Semi-structured documents:
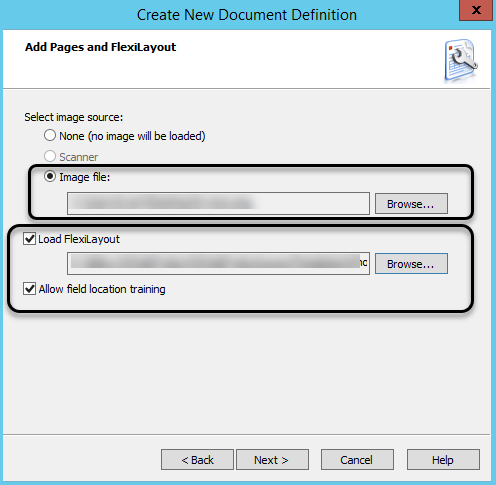
Load an image or sample of your document, you can use the same image used to create the layout. Select the Load FlexiLayout option, and search the layout option exported from the document layout.
Set a name and the language.
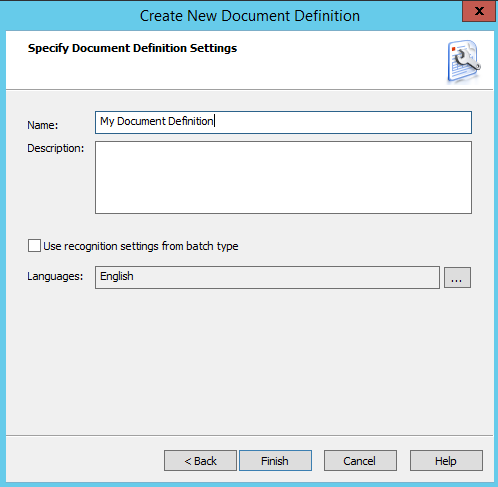
Click Finish.
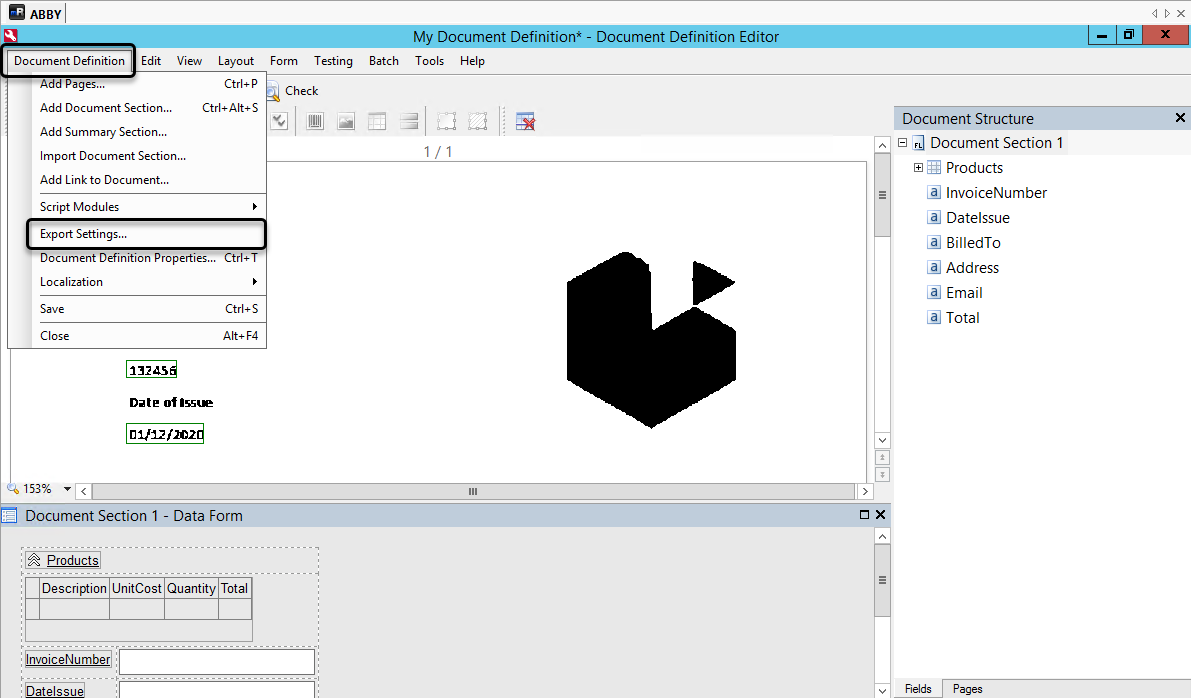
When the Document Definition window appears, you can review that the document structure has the fields defined in the layout. You also need to define the format that Abbyy exports the information obtained from a document. Select the Document Definition tab, and click Export Settings.
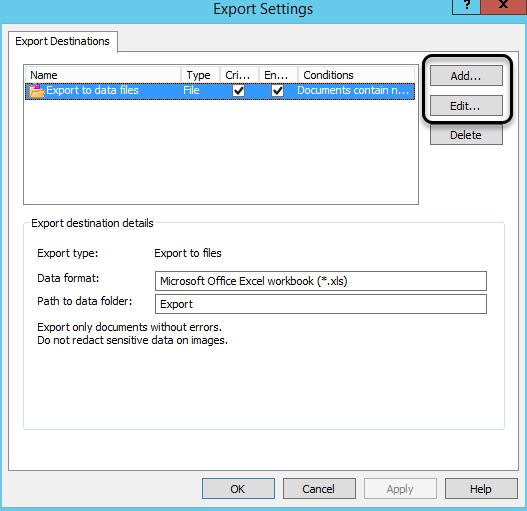
If a Destination exists, you can edit it, or you can add a new one.
Make sure that the Data Format is an XML document.
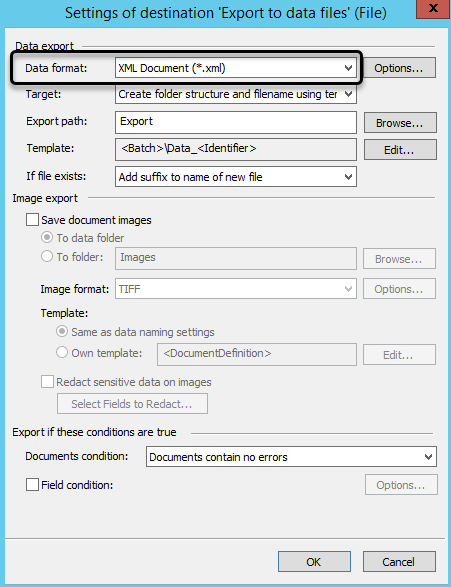
Click OK and Apply in the Export Settings window. Save the Document Definition, and close the window.
When saving, Abbyy validates the document definition. Before continuing, make sure that the document is valid, or fix the warnings or errors.
Note:
If the Data Format is different from XML, the Bizagi connector cannot retrieve information from the document.
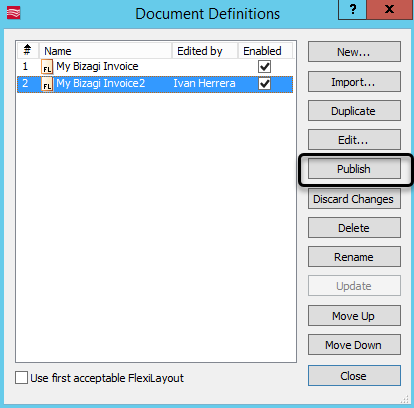
Select the Document Definition and publish it to the server.
3. Create a Batch Type
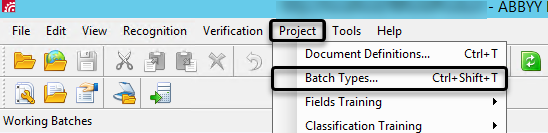
Open the Project tab, in the top ribbon, and select Batch Types.
Click New, in the Batch Type window. Then in the Image Processing Options, click Next.
In the Recognition options, activate the Selected radio button and add a new document definition:
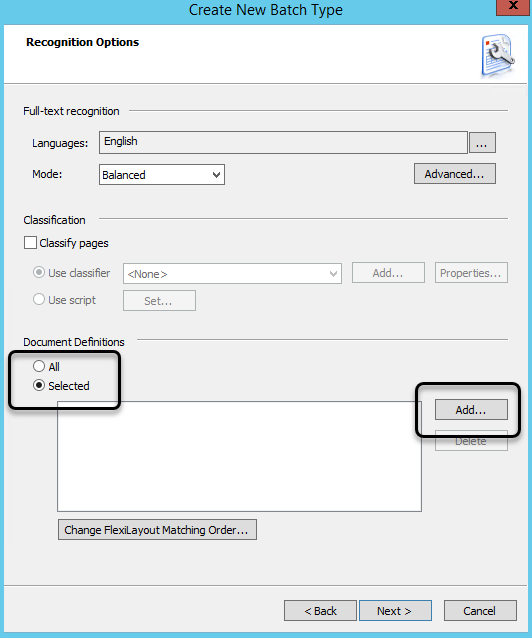
Then, select the document definition created in the previous step.
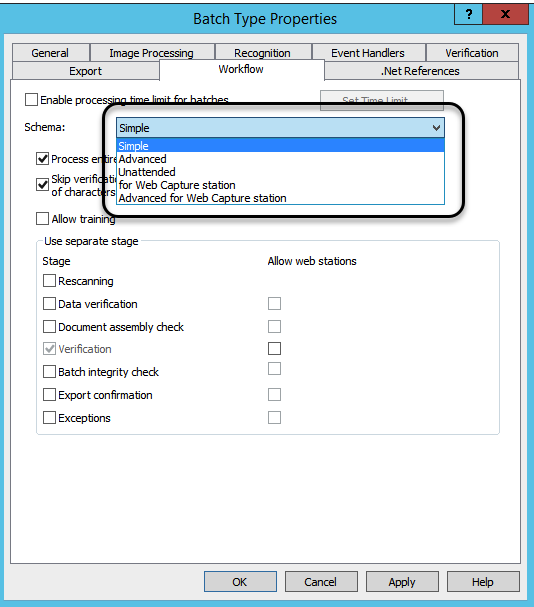
Batch Schema
The schema refers to the way that Abbyy handles batch executions when there are characters that are not recognized. You can select any of the following options:
- Simple
- Advanced
- Unattended (recommended)
- For web capture station
- Advanced for web capture station
Note:
If you have fixed and standard semi-structured documents, we recommend leaving the option Unattended. If you select simple or other options, it requires a verification done by a person when characters are not recognized, which requires user intervention and may delay the execution of batches.
Continue clicking Next until the final step.
In the final step, provide a name to the Batch. Keep the name in a place that you can remember, because it is needed for the connector.
4. Upload the project to server
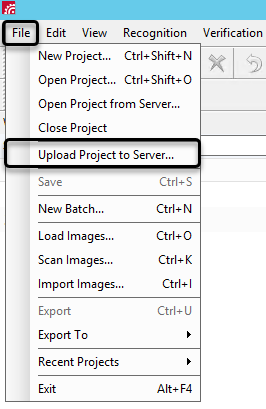
After you finish configuring the project, upload the project to the server. Open the File tab and click Upload Project to Server.
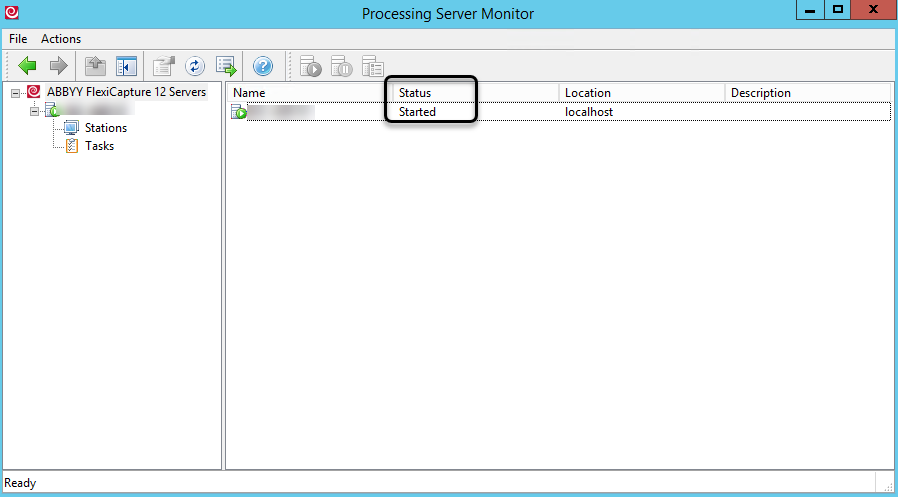
5. Activate the server
Open the Processing Server Monitor application, add the server, and make sure that the status is Started:
6. Obtain a response sample
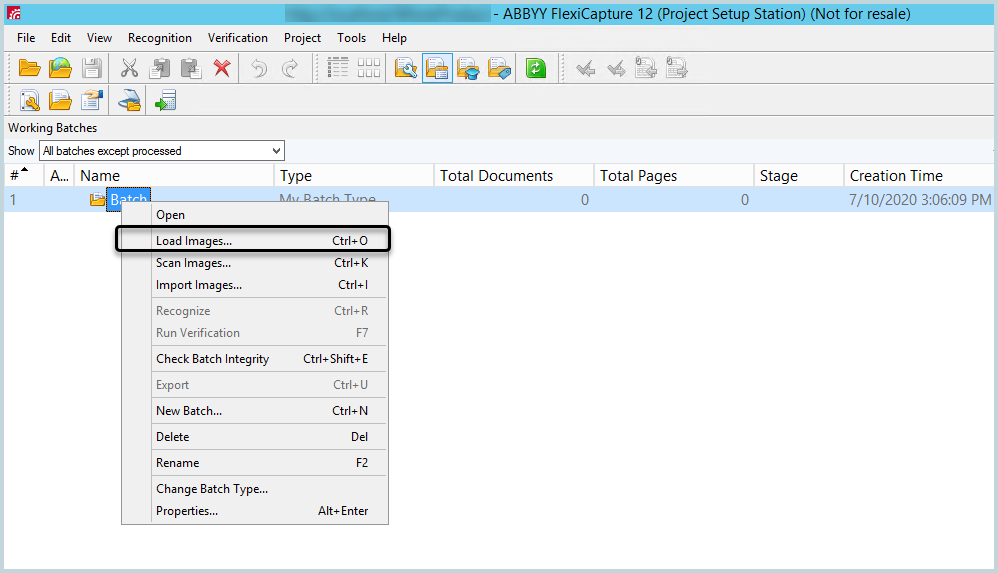
To use the Abbyy connector you need to generate a sample of the response. This sample is used later for the connector setup, so you can define the information that is mapped to Bizagi processes. Open the Project Setup Station; right-click the Working Batches area, and create a New Batch.

Select the Batch type created in previous steps:

Right-click the batch, and select Load Images:
Load an image or pdf of the document that you want to process in Abbyy. Wait until it is finished, and double-click the batch.
Select Export To and click Data to Files. Make sure that you select XML format, then save the XML document in a place you can access later.

Now you can continue to setup the Abbyy connector.